If you’re looking for a way to increase your privacy and security while using your iPhone, then you need to know how to set up a VPN on iPhone. A VPN will keep your data safe and secure when you’re connected to the internet, and it will also allow you to access blocked websites and content. In this article, we will show you how to set up a VPN on iPhone and important VPN iPhone settings. We’ll also provide information on the best VPNs to use with an iPhone.
Table of Contents
What is a VPN and Why Do You Need One on Your iPhone?
If you’re not familiar with VPNs, they are essentially Virtual Private Networks. When you connect to a VPN, all of your internet traffic will be routed through an encrypted tunnel. This means that anyone who is trying to snoop on your data will only see gibberish. Additionally, a VPN can also help you bypass internet censorship. If you’re in a country where the government is blocking certain websites, you can use a VPN to access those sites.
How to Choose a VPN on iPhone
Now that we’ve covered what a VPN is and how it can benefit you, let’s take a look at how to set one up on your iPhone. The first thing you need to do is choose a VPN service. There are many different VPN providers out there, and they offer slightly different features. Some of the things you should look for in a VPN provider include:
- A wide selection of server locations. This will give you more options for bypassing censorship and accessing blocked content.
- Strong encryption. This will ensure that your data is safe and secure.
- A user-friendly app. You want a VPN that’s easy to set up and use.
Once you’ve found a VPN provider that meets your needs, sign up for an account. Then, download the VPN app from the App Store. Once the app is installed, open it and sign in with your account credentials.
VPN iPhone Settings: Server Location
Now, you need to choose a server location. This is the server that your traffic will be routed through. Keep in mind that the closer the server is to your actual location, the faster your connection will be. However, if you’re trying to access content that’s only available in another country, you’ll need to connect to a server in that country.
VPN iPhone Settings: How to Connect and Disconnect
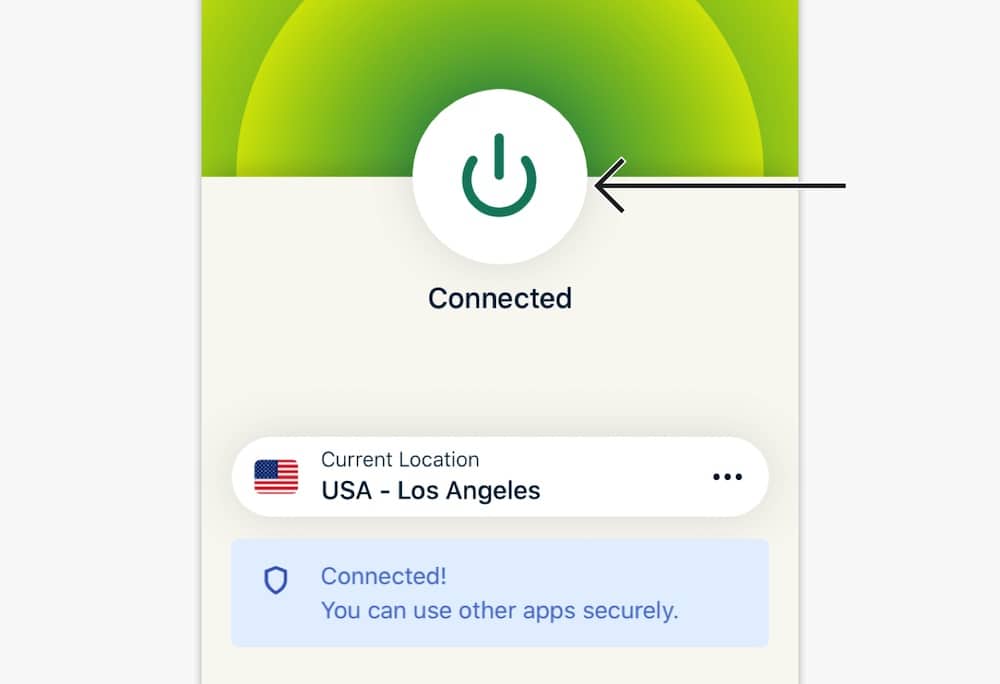
Once you’ve selected a server, tap the “Connect” button. Your iPhone will now route all of your traffic through the VPN.
If you want to switch servers or disconnect from the VPN, simply open the app and tap the “Disconnect” button. You can also set up your VPN so that it connects automatically whenever you’re connected to a specific Wi-Fi network.
Advanced VPN on iPhone Settings
In the VPN app, you’ll also find some additional settings that you can adjust. Here are a few of the most important ones:
- Protocol: This setting allows you to choose which protocol your traffic will be routed through. The most common protocols are IKEv VPN iphone settings and IPSec.
- Kill Switch: This setting will prevent your traffic from being routed through an unsecured connection if the VPN connection is lost.
- DNS Settings: You can choose to use a different DNS server with your VPN. This can be helpful for bypassing censorship.
That’s all there is to setting up a VPN on your iPhone! By following these steps, you can increase your privacy and security, and access blocked content from anywhere in the world. To help be sure you choose a reputable VPN provider, I’ve gone ahead and reviewed some of the best VPNs in the market. This way you can be confident that your data is safe.
The Best VPNs for iPhone
There are many different VPN providers out there, but not all of them are created equal. Some VPNs are better than others, and some are specifically designed for use with iPhones.
ExpressVPN
One of the best VPNs for iPhone is ExpressVPN. ExpressVPN offers a wide selection of server locations, strong encryption, and a user-friendly app. Additionally, they offer a 30-day money-back guarantee, so you can try the service risk-free.
NordVPN
Another great option for iPhone users is NordVPN. NordVPN also offers a wide selection of server locations, strong encryption, and a user-friendly app. They also have a low monthly price and offer a 30-day money-back guarantee.
Windscribe (Free VPN for iPhone)
If you’re looking for a free VPN for iPhone, Windscribe is a good option. Windscribe offers a limited selection of server locations, but they provide strong encryption and have a user-friendly app.
TunnelBear
Finally, if you’re looking for a VPN specifically designed for use with iPhones, TunnelBear is a great option. TunnelBear offers a wide selection of server locations, strong encryption, and a user-friendly app. They also have a low monthly price and offer a free trial.
No matter which VPN you choose, make sure that it meets your needs and offers a user-friendly app. Once you’ve found the perfect VPN for your iPhone, setting it up is easy. Just follow the steps in this article, and you’ll be up and running in no time
Conclusion
We hope this article was helpful in teaching you how to set up a VPN on iPhone. By following these steps, you can increase your privacy and security, and access blocked content from anywhere in the world. If you’re looking for a reputable VPN provider, we’ve reviewed some of the best ones in the market. So be sure to check them out. Thanks for reading!
If you want to learn more about VPNs, check out our other articles:
Why VPN Is Used: The Importance of Virtual Private Networks
The Best VPN Chrome Extension Free – Privacy Tools Examined
Best VPN Extension Firefox: Comparing The Top 5 Privacy Tools